
How to Prepare Print-Ready T-Shirt Designs for Beginners
A beginner-friendly guide to print-ready t-shirt files: printing methods, canvas size, resolution, colours, transparent backgrounds and a final checklist.
Table of Contents
A great t-shirt idea can still print badly if the file is not prepared correctly. Blurry edges, odd colours and graphics that sit in the wrong place usually come from the same few mistakes. The good news is that print-ready files follow simple rules, and once you know them, every design you send to a printer or print-on-demand platform will come out looking the way you planned.
1. Know your printing method first
How your shirt will be printed affects how you prepare the file:
- Screen printing prints one colour at a time, so designs with a limited number of solid colours are cheaper and cleaner.
- Direct to garment (DTG) prints full-colour artwork like an inkjet printer, which suits detailed and photographic designs.
- Heat transfer and vinyl work best with simple shapes and bold text.
Always ask your printer or check your platform guidelines before you start designing.
2. Set the right canvas size and resolution
Create your design at the size it will be printed. A common front print area is around 12 x 16 inches, and many print-on-demand platforms ask for files of roughly 4500 x 5400 pixels. Work at 300 DPI at the final print size so details stay crisp. Enlarging a small image later will not add quality, so start big.
3. Use vector artwork where you can
Vector graphics are made from paths rather than pixels, so they scale to any size without losing sharpness. Logos, text and badge designs are best created in vector. If your design includes raster elements such as textures or photos, make sure they are high resolution at the final size.
4. Choose the right colour setup
For screen printing, keep to a small set of solid colours and tell your printer which ink colours you want. For DTG and print on demand, follow the platform guidelines, many prefer RGB PNG files. Remember that colours on screen can look different on fabric, so avoid relying on very subtle shades and test light designs on dark shirts carefully.
5. Prepare a transparent background
Unless you want a solid box printed on the shirt, remove the background. Export a PNG with transparency for DTG and print on demand. Check the edges closely, leftover semi-transparent pixels can print as a faint halo around your design.
6. Convert text and check fonts
Convert text to outlines or shapes before sending vector files, so the printer sees exactly what you designed even if they do not have your fonts. Only use fonts whose licence allows commercial use on merchandise.
7. Check placement with a mockup
Place your artwork on a t-shirt mockup to check size and position. A typical chest print sits a few inches below the collar. Designs that are too large can wrap into the armpits, while very small designs can look lost on larger sizes.
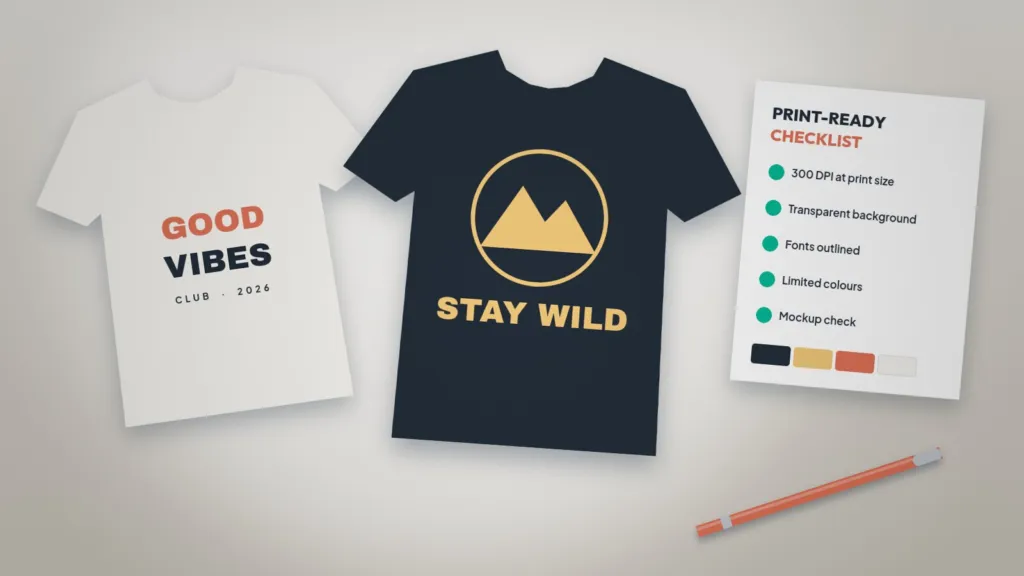
8. Final print-ready checklist
- Correct print area size at 300 DPI
- Vector artwork or high-resolution images
- Transparent background and clean edges
- Text converted to outlines, fonts licensed for merch
- Colours chosen for the printing method
- Size and placement checked on a mockup
9. Start faster with ready-made designs
If you are new to apparel design, starting from a prepared file saves time and avoids most of these issues. Our Outdoor T-Shirt Design Template and Vintage Apparel Graphic Set come as editable vector artwork with transparent backgrounds. Browse more in T-shirt & Apparel Print Design.
Templates for this article
View all

About the Author
Templateza TeamWe share practical tips, design guides and resources to help you create professional templates for business, print and digital use.